During a shoot yesterday, when setting up my lights, I took a few frames to determine the speed, aperture and ISO I’d be shooting at.

Needless to say that because you have to start somewhere, the first shot is not always a keeper… but I kept it anyway and gave it a ply this morning.

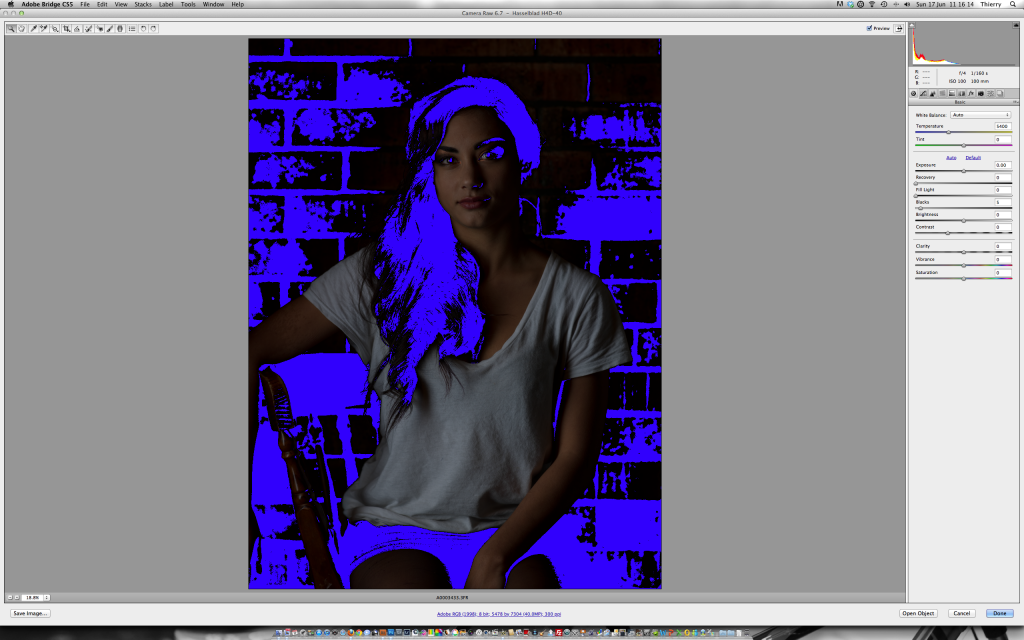
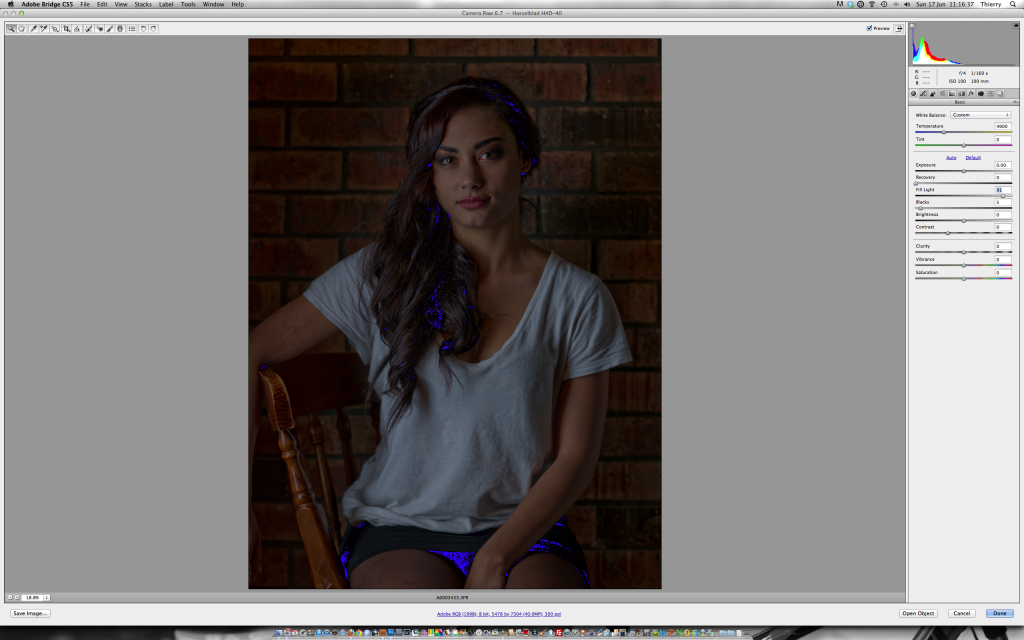
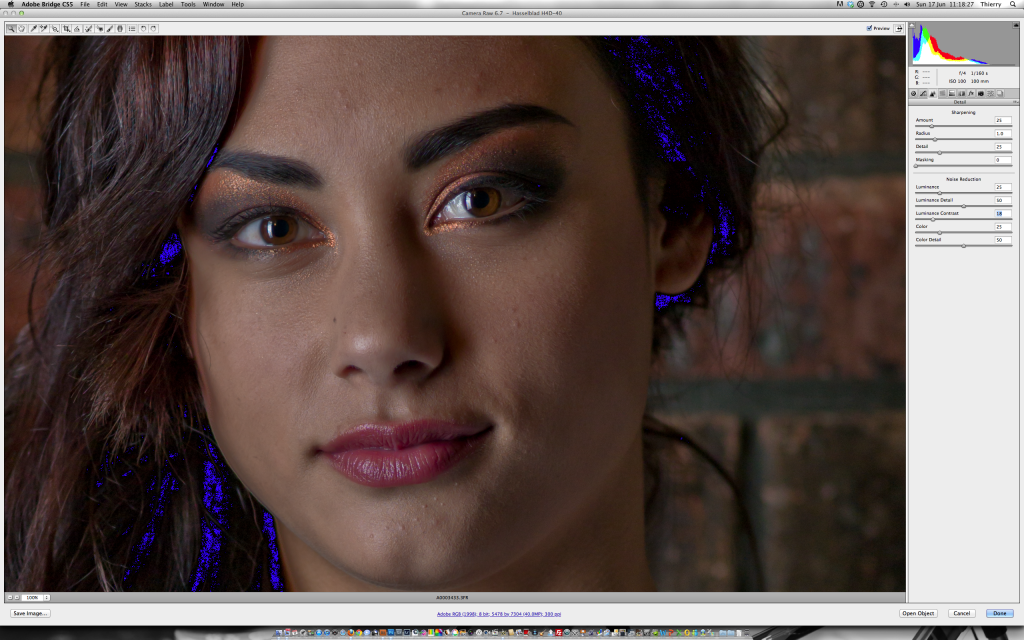
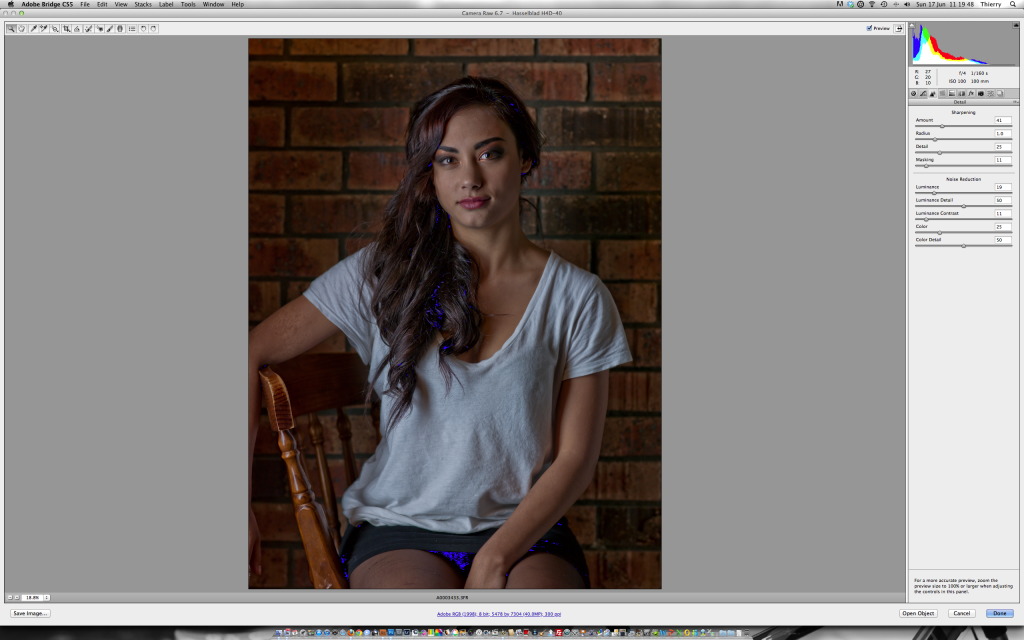
When checking the histogram, there are details in the areas that I need but there is still some serious clippings.. The image below is a screen capture of how the image showed up in Camera Raw. The files is shot with a HasselBlad H4D40. Click on the images for a bigger view

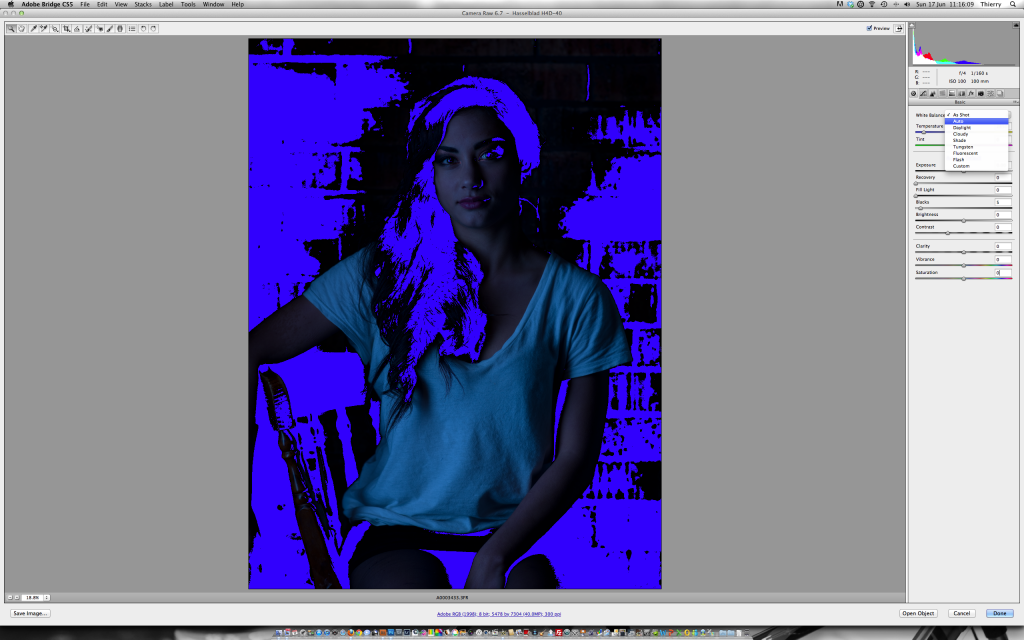
The blue overlay is where the details are clipped in the shadows.

Medium Format DR AfterRaw. Click to enlarge (1)

Medium Format DR AfterRaw- Initial image out of camera. Click to enlarge


Medium Format DR AfterRaw. Click to enlarge (2)

The first step was to choose a WB for this image


Medium Format DR AfterRaw. Click to enlarge (3)


Medium Format DR AfterRaw. Click to enlarge (4)

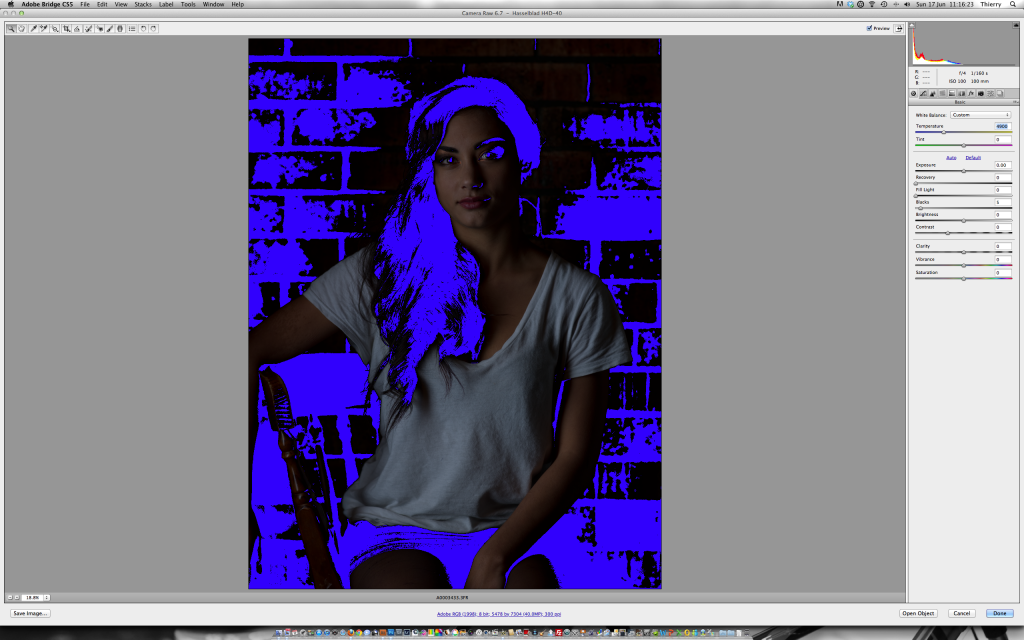
From the ‘standard’ WB setting, I tweaked a bit more with the temperature sliders


Medium Format DR AfterRaw. Click to enlarge (5)

This image shows a fill light slider all the way to the top without degrading the shadow areas


Medium Format DR AfterRaw. Click to enlarge (6)

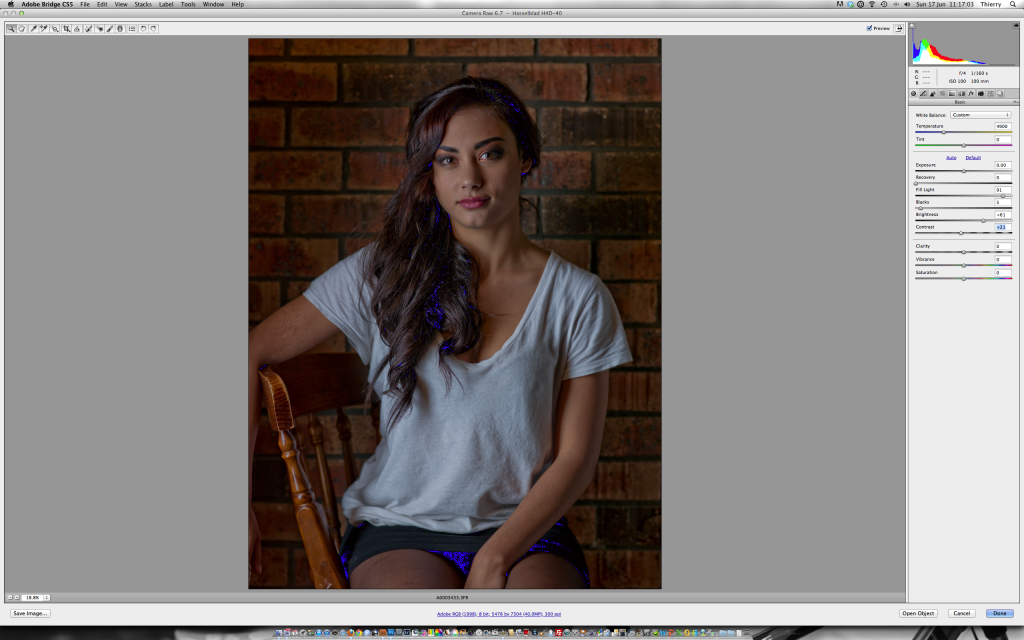
This is how the image looks like with some added brightness


Medium Format DR AfterRaw. Click to enlarge (7)

By adding a bit of contrast, I increased the saturation level of the image


Medium Format DR AfterRaw. Click to enlarge (8)

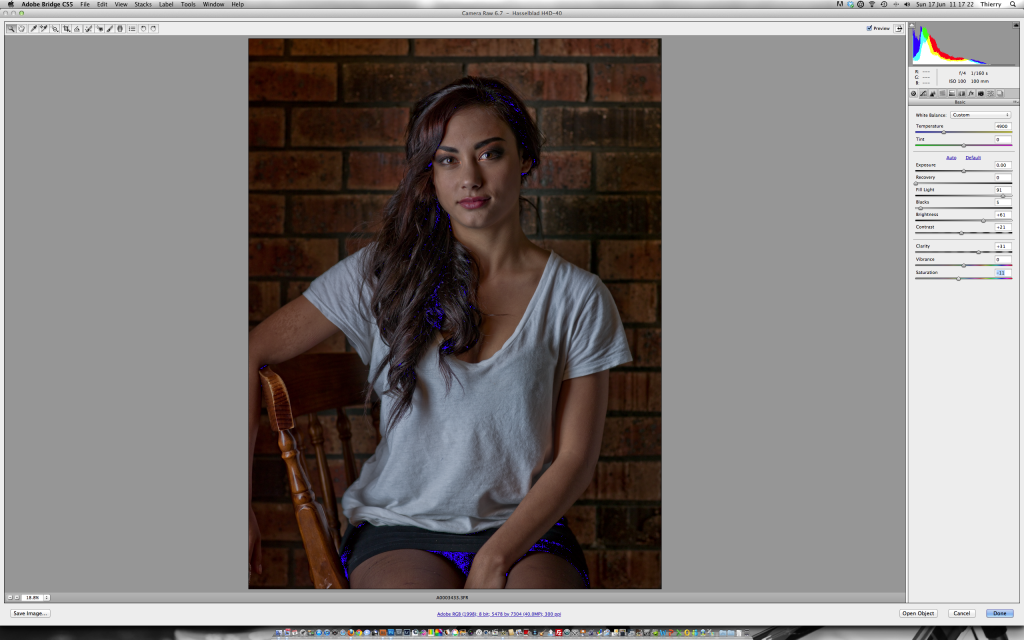
I always found that adding a bit of Clarity would lift the image and make the subject pop a bit more


Medium Format DR AfterRaw. Click to enlarge (9)

Reducing the saturation introduced by adding more contrast in the above step

Medium Format DR AfterRaw. Click to enlarge (10)

I played with the vibrance slider to adjust to taste

Medium Format DR AfterRaw. Click to enlarge (11)

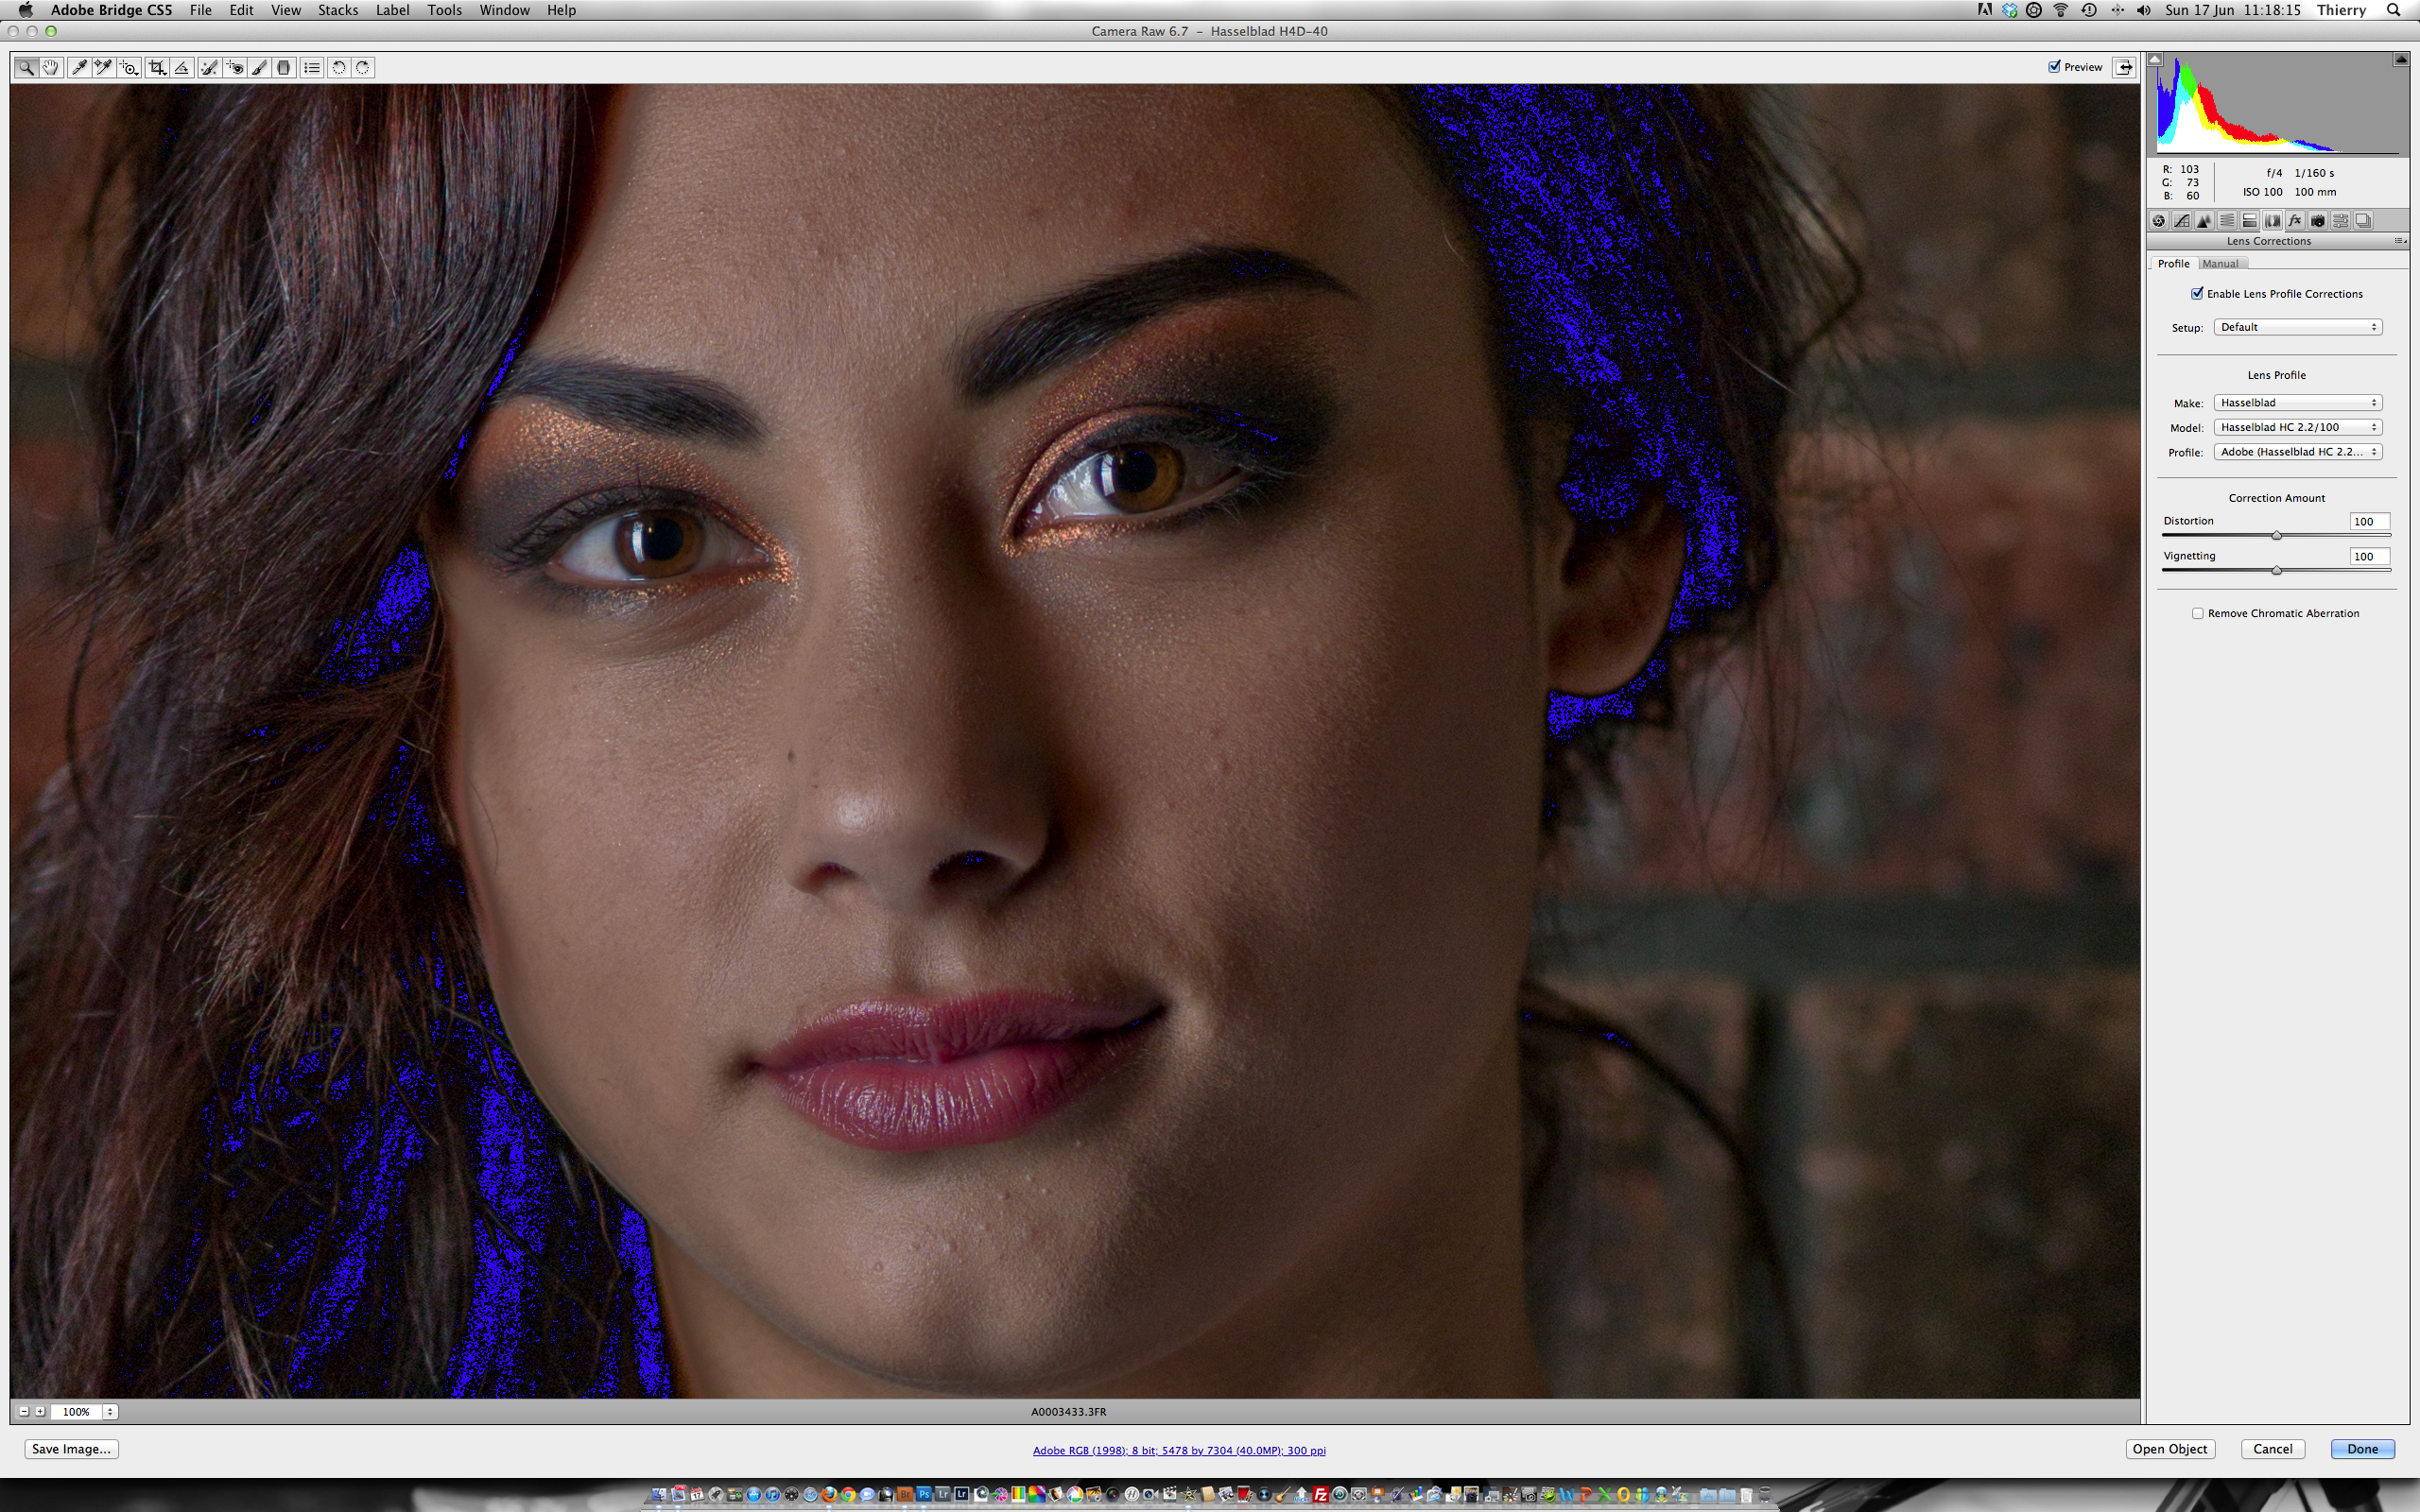
One of the adjustment that I almost apply every time if the lens profile correction. This reduces a bit of distortion common with wide angle lenses


Medium Format DR AfterRaw. Click to enlarge (12)

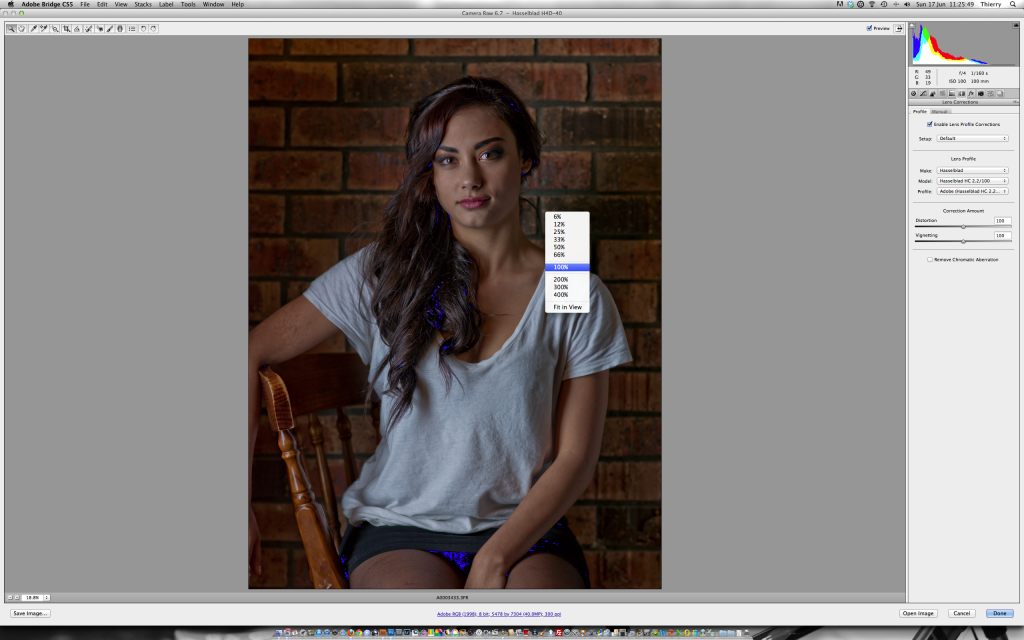
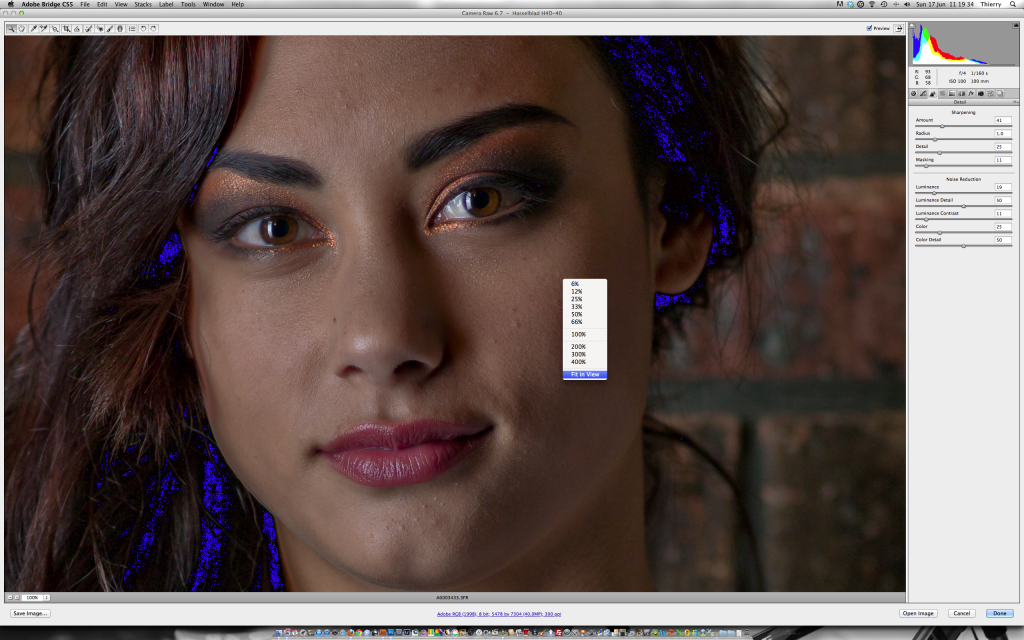
A right click in ACR to activate the view size. I selected a 100% view to inspect the image


Medium Format DR AfterRaw. Click to enlarge (13)

A view at 100% from a H4D40 file


Medium Format DR AfterRaw. Click to enlarge (14)

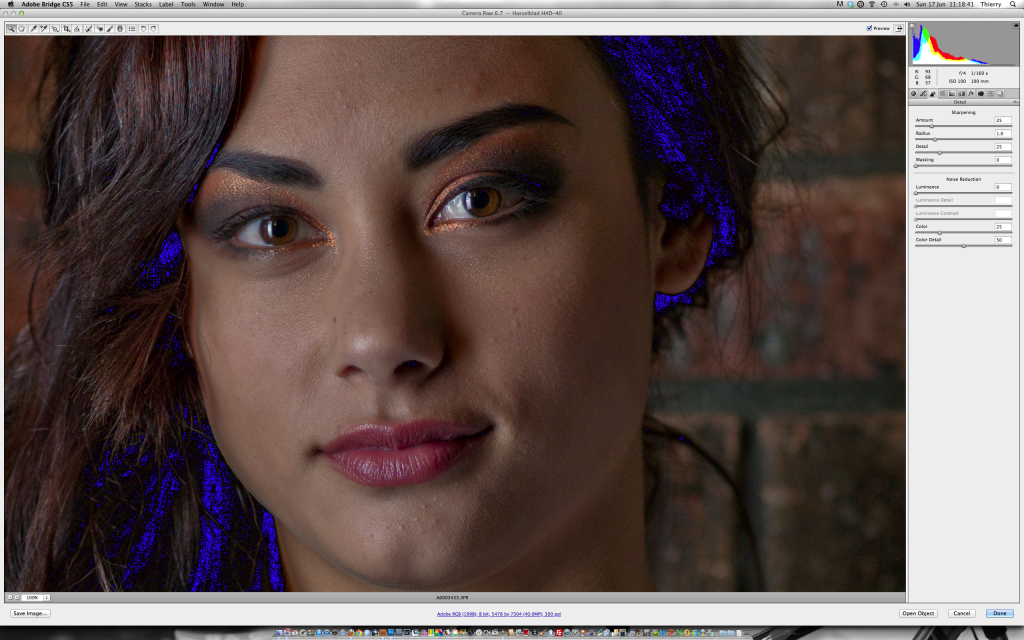
Fine tunes on the image can be done with preview activated for instant feedback

Medium Format DR AfterRaw. Click to enlarge (15)


Medium Format DR AfterRaw. Click to enlarge (16)


Medium Format DR AfterRaw. Click to enlarge (17)


Medium Format DR AfterRaw. Click to enlarge (18)


Medium Format DR AfterRaw. Click to enlarge (19)

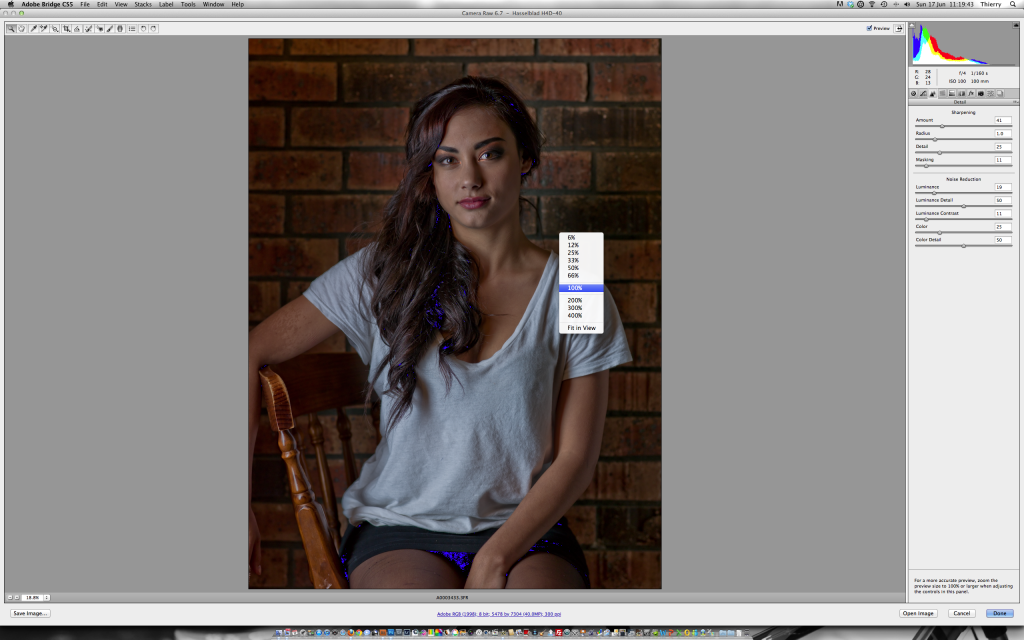
Right click to return into fit to screen view mode on a 30″ Apple Cinema screen


Medium Format DR AfterRaw. Click to enlarge (20)


Medium Format DR AfterRaw. Click to enlarge (21)


Medium Format DR AfterRaw. Click to enlarge (22)


0